
I’ve recently been learning Rust. Originally, I was drawn to it because of my embedded projects: Although I’ve appreciated the “behind the curtains” look that writing plan-old C gives into the embedded runtime environment, I was feeling the strain of my limited familiarity with the language and its quirks. Rust seemed like an exciting, modern language to learn, with plenty of developer-friendly features, and the fact that it apparently supports embedded targets was a nice bonus. I read through the online Rust book, the excellent Programming Rust, and had worked through several of this year’s Advent of Code problems using it. I was really enjoying Rust so far, but I wanted to try using it for a larger project that would help me get a better understanding of building fully functional software with it.
I decided to see if I could build a performant physics simulator from the ground up. For me, this meant implementing even basic concepts like vector operations from scratch, to get a feel for the type and trait systems and see what was possible. Starting with astronomical simulations and working in 2D, but then quickly adding support for 3D, I devised a simple configuration format in YAML to specify the starting system state. I used the Earth and Moon system as a test case, drawing starting simulation values from their Wikipedia pages.
Just to get started, I wanted to set up a basic vector multiplication module, which would be essential for representing
and manipulating force vectors. Although it would have been easy to use one of several linear algebra crates to handle
all of this for me, one of my goals with the project was to get a feel for Rust’s expressiveness. I was quickly able to
set up a two-dimensional Vector type for 2D simulations, and in the process of expanding this to three dimensions, I
was pleasantly surprised to discover Rust’s const generics feature, akin to constant template parameters from C++,
which allowed me to write generic definitions for n-dimensional vectors:
use std::ops::{Index, IndexMut};

pub struct Vector<const N: usize>([f32; N]);

impl<const N: usize> From<[f32; N]> for Vector<N> {
    fn from(components: [f32; N]) -> Self {
        Self(components)
    }
}

impl<const N: usize> Default for Vector<N> {
    fn default() -> Self {
        Self([0.0; N])
    }
}

impl<const N: usize> Index<usize> for Vector<N> {
    type Output = f32;
    fn index(&self, i: usize) -> &Self::Output {
        &self.0[i]
    }
}

impl<const N: usize> IndexMut<usize> for Vector<N> {
    fn index_mut(&mut self, i: usize) -> &mut Self::Output {
        &mut self.0[i]
    }
}
Implementing the Index and IndexMut traits on N-Vectors provides a generic way to access the vector’s members with
v[0], v[1], etc., but for convenience I added more ergonomic accessors for my primary 2D and 3D physical simulation
use cases, allowing one to use the more familiar (x, y, z) coordinate system:
impl Vector<2> {
    pub fn new(x: f32, y: f32) -> Self {
        Self([x, y])
    }

    pub fn x(&self) -> f32 {
        self.0[0]
    }

    pub fn y(&self) -> f32 {
        self.0[1]
    }
}

impl Vector<3> {
    pub fn new(x: f32, y: f32, z: f32) -> Self {
        Self([x, y, z])
    }

    pub fn x(&self) -> f32 {
        self.0[0]
    }

    pub fn y(&self) -> f32 {
        self.0[1]
    }

    pub fn z(&self) -> f32 {
        self.0[2]
    }
}

pub type Vector2 = Vector<2>;
pub type Vector3 = Vector<3>;
With these definitions established, I could now generically implement field operations on my N-dimensional vectors. This
would allow me to perform basic mathematical operations on them, such as addition, subtraction, and even the dot
product, by simply writing expressions like (v1 + v2).dot(v3):
use std::ops::{Add, Div, Mul, Sub};

impl<const N: usize> Sub<&Vector<N>> for &Vector<N> {
    type Output = Vector<N>;
    fn sub(self, other: &Vector<N>) -> Self::Output {
        let mut components = [0.0; N];
        for i in 0..N {
            components[i] = self.0[i] - other.0[i];
        }
        Vector::<N>(components)
    }
}

impl<const N: usize> Div<&Vector<N>> for &Vector<N> {
    type Output = Vector<N>;
    fn div(self, other: &Vector<N>) -> Self::Output {
        let mut components = [0.0; N];
        for i in 0..N {
            components[i] = self.0[i] / other.0[i];
        }
        Vector::<N>(components)
    }
}

impl<const N: usize> Div<f32> for &Vector<N> {
    type Output = Vector<N>;
    fn div(self, other: f32) -> Self::Output {
        let mut components = [0.0; N];
        for i in 0..N {
            components[i] = self.0[i] / other;
        }
        Vector::<N>(components)
    }
}

impl<const N: usize> Add<&Vector<N>> for &Vector<N> {
    type Output = Vector<N>;
    fn add(self, other: &Vector<N>) -> Self::Output {
        let mut components = [0.0; N];
        for i in 0..N {
            components[i] = self.0[i] + other.0[i];
        }
        Vector::<N>(components)
    }
}

impl<const N: usize> Mul<&Vector<N>> for f32 {
    type Output = Vector<N>;
    fn mul(self, other: &Vector<N>) -> Self::Output {
        let mut components = [0.0; N];
        for i in 0..N {
            components[i] = self * other.0[i];
        }
        Vector::<N>(components)
    }
}

impl<const N: usize> Vector<N> {
    pub fn dot(&self, rhs: &Self) -> f32 {
        let mut sum = 0.0;
        for i in 0..N {
            sum += self.0[i] * rhs.0[i];
        }
        sum
    }
}
Note the implementation of both vector and scalar versions of Div. The former is for completeness alongside Mul, to
allow for inverse operations, while the scalar version would become useful shortly, when implementing a normalize
function for my Vector<N> struct:
impl<const N: usize> Div<&Vector<N>> for &Vector<N> { ... }
impl<const N: usize> Div<f32> for &Vector<N> { ... }
With these primitives out of the way, I could now move on to the meat of my simulation project and begin expressing physical force interactions through code. To start, I augmented the definition of my N-vectors to include behavior that is specific to simulations of physical objects in space. The primary force interaction between large celestial bodies like the Earth and Moon is gravity, which correlates the mass of two objects (m1 and m2) and the square of the distance between them (expressed as r) with the force of attraction between them, F, scaled by the universal gravitational constant, G:
\[F = G \dfrac{m_{1}m_{2}}{r^2}\]The masses of the physical objects aren’t related in any way to the objects’ locations or distances between each other,
so I decided that mass would be stored elsewhere, as attributes of the objects themselves, alongside their position and
velocity vectors. Adding a few quick helper functions to my Vector<N> implementation, and then adding a new trait
Distance and implementing it for Vector<N>:
impl<const N: usize> Vector<N> {
    pub fn normalize(&self) -> Self {
        // Scalar division of vector
        self / self.magnitude()
    }

    pub fn magnitude(&self) -> f32 {
        // Use f64 to avoid precision loss
        let mut sum_of_squares = 0_f64;
        for i in 0..N {
            sum_of_squares += (self.0[i] as f64).powi(2);
        }
        sum_of_squares.sqrt() as f32
    }
}

pub trait Distance {
    type Output: Distance;

    fn distance(&self, other: &Self) -> f32;
    fn direction(&self, to: &Self) -> Self::Output;
}

impl<const N: usize> Distance for Vector<N> {
    type Output = Vector<N>;

    fn distance(&self, other: &Self) -> f32 {
        (self - other).magnitude()
    }

    fn direction(&self, to: &Self) -> Self::Output {
        (to - self).normalize()
    }
}
…gave me everything I needed to describe a Force trait and define Gravity itself:
const G: f32 = 6.67430e-11;
type PositionVector<const N: usize> = Vector<N>;
type VelocityVector<const N: usize> = Vector<N>;
pub struct ForceVector<const N: usize> {
pub label: String,
pub v: PositionVector<N>,
}
impl<const N: usize> ForceVector<N> {
pub fn magnitude(&self) -> f32 {
self.v.magnitude()
}
}
struct Body<const N: usize> {
pub label: String,
pub mass: f32,
pub diameter: f32,
pub position: PositionVector<N>,
pub velocity: VelocityVector<N>,
pub forces: Vec<ForceVector<N>>,
}
// A ForceMap associates each Body label as the hash key with the list
// of forces that are acting upon it.
pub type ForceMap<const N: usize> = HashMap<String, Vec<ForceVector<N>>>;
pub struct Gravity {
g: f32,
}
impl Gravity {
pub fn new(g: Option<f32>) -> Self {
Gravity { g: g.unwrap_or(G) }
}
// Given a list of Bodies, calculates the force of gravity imposed on
// each by every other Body.
pub fn forces_from_bodies<const N: usize>(&self, bodies: &Vec<&Body<N>>) -> ForceMap<N> {
let mut force_map = ForceMap::new();
for body_pair in bodies.iter().combinations(2) {
let (b1, b2) = (body_pair[0], body_pair[1]);
force_map
.entry(b1.label.clone())
.or_insert(vec![])
.push(self.calculate(b1, b2));
force_map
.entry(b2.label.clone())
.or_insert(vec![])
.push(self.calculate(b2, b1));
}
force_map
}
}
impl Force for Gravity {
fn calculate<'a, const N: usize>(&self, on: &'a Body<N>, from: &'a Body<N>) -> ForceVector<N> {
let distance = on.position.distance(&from.position);
let magnitude = self.g * on.mass * from.mass / distance.powi(2);
let on_force_name = format!("gravity_{}", from.label);
ForceVector {
label: on_force_name,
v: magnitude * &on.position.direction(&from.position),
}
}
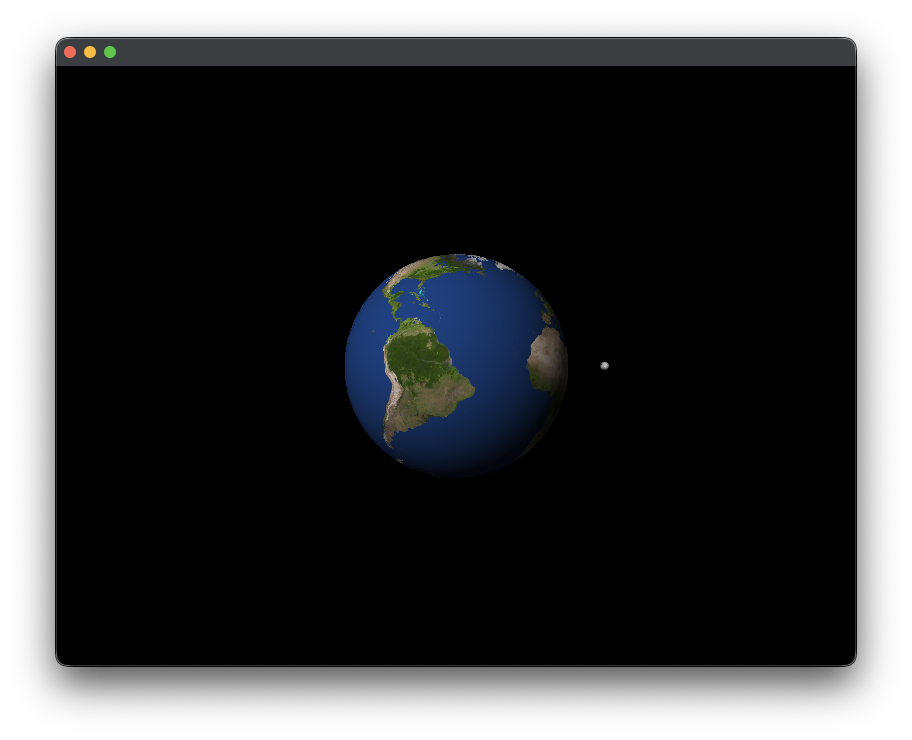
}To display the output, I started with plain textual output of the incremental positions and velocities of each object in the simulation, but soon enough found myself wondering what it would take to render the simulation visually. Working through the phenomenal free tutorials on learnopengl.com, I was able to get a basic sphere modeled, and to draw an Earth texture on it. I soon did the same for the moon. Although the tutorials are written for C++, the concepts were fairly easy to translate into Rust, with the help of a Rust crate called miniquad which provides type-safe bindings for the OpenGL calls.
There’s a lot more to this project that I wasn’t able to cover in this post: My OpenGL learning journey; the structure
of the actual Simulation struct which uses these code snippets; my brief encounter with quaternions in order to
simply get my simulated objects to spin correctly. But I’m proud of how the foundations of this project turned out, and
I wanted to highlight how expressive Rust can be. For future work, I’d like to continue to improve the visuals of the
simulator, adding a trackball and zoom interface, as well as labels and other textual information. From there, I want to
try to stress test the simulation: How many bodies can it handle at once? If I encounter performance problems, what
optimizations can I implement to speed it up? Can I leverage CUDA or similar high-performance computing techniques to
parallelize the force calculations? Can I develop a testing mechanism to see how accurate my simulation is over long
timeframes, and what can I do to improve that accuracy? Hopefully, this is only the beginning of my journey through
graphics programming and Rust!